Skip to content

Solar Panel Maintenance Guide

mm David Thompson 11 min read

Why Maintenance Matters for Solar Output

Fast At-a-Glance Priorities

  • Keep your monitoring active and review it monthly for unexpected dips or flatline days.

  • Treat sudden production drops as urgent and gradual declines as diagnostic—not all issues are dirt.

  • Clean panels only when there's visible buildup or a verified output hit; avoid cold water on hot glass.

  • Don't use harsh chemicals or anything abrasive; skip metal scrapers entirely to protect glass and coatings.

  • Store every spec sheet, serial number, and commissioning document like it's part of your home's deed.

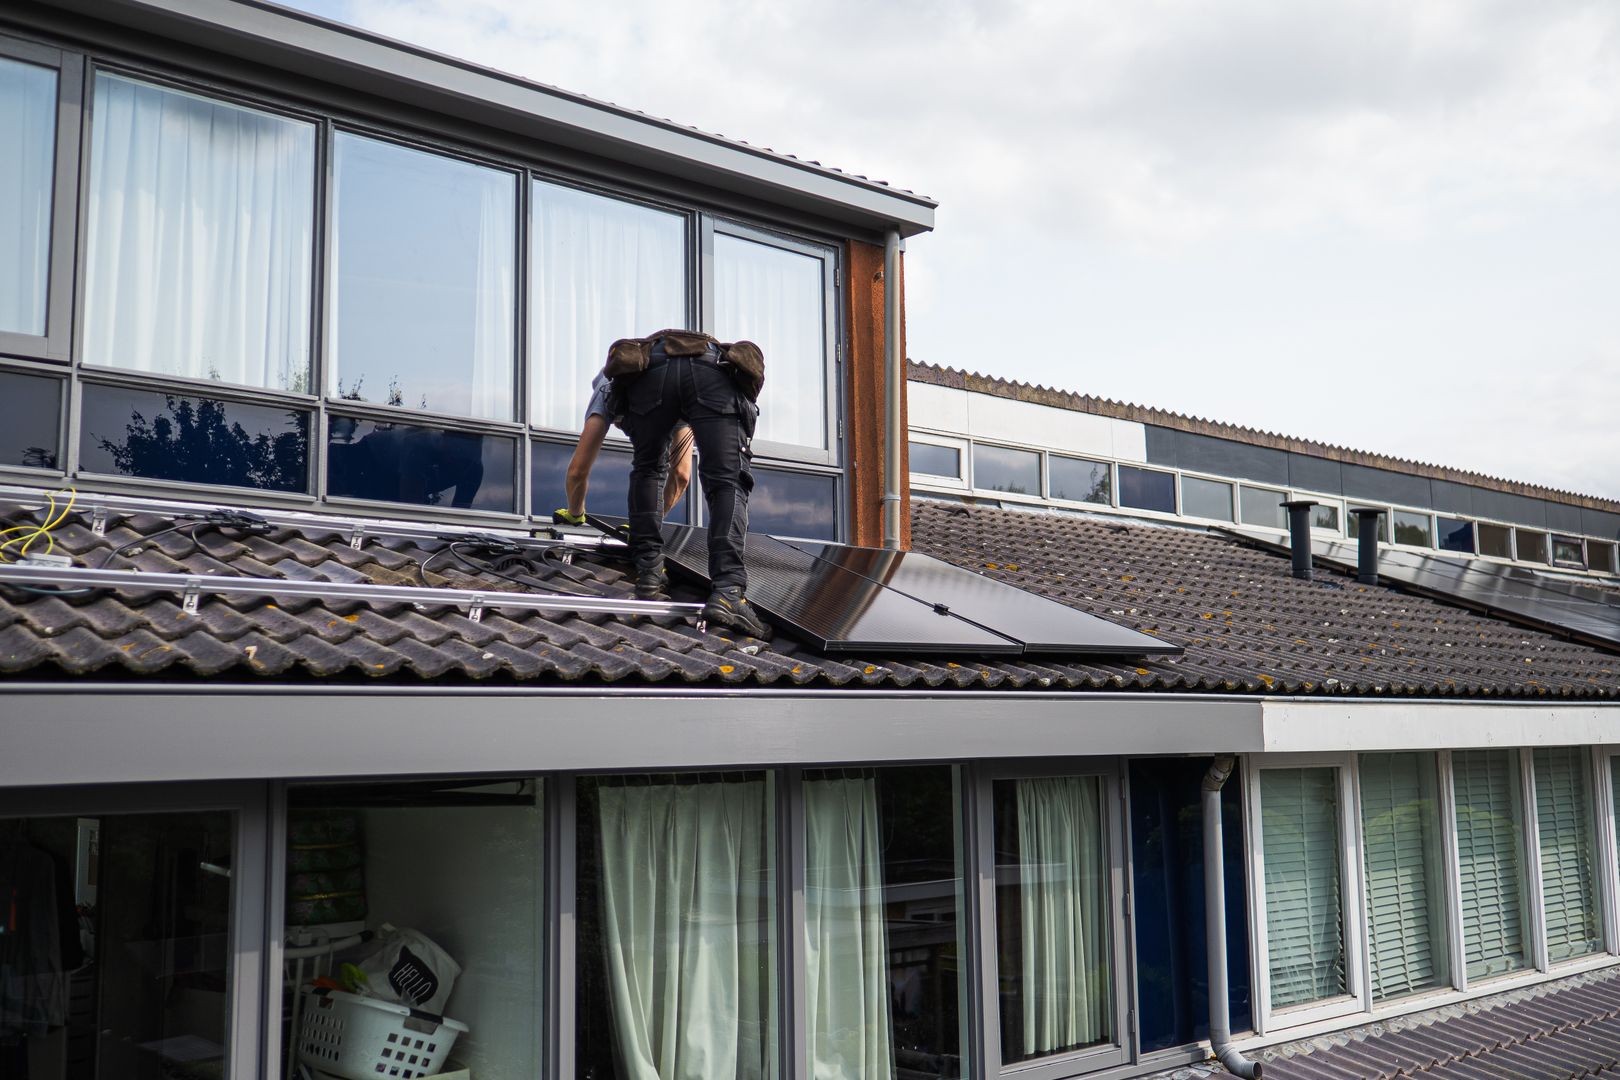
  • If a task requires steep roof access, lifting panels, or opening electrical enclosures—hire it out for safety.

The Physics Behind Why This Matters

Solar modules slowly lose output over time—field data summarized by the National Renewable Energy Laboratory has long shown median degradation around 0.5% per year, with many systems under 1% per year in the field. That is normal aging, the expected performance decline over decades of exposure to weather and sunlight.

What's not normal is a sudden 10% drop that coincides with a failed inverter, a tripped breaker, a damaged optimizer, or a shaded string after a tree limb grew into the array's solar window. Maintenance isn't about fighting normal degradation; it's about preventing abnormal losses that compound and eat into your expected payback.

Soiling is the most misunderstood piece of solar panel cleaning and maintenance. In many neighborhoods, rain and gravity handle the basics without any intervention. In others, a dry season plus dust plus pollen can create a dull film that stays in place for months, blocking sunlight and reducing output.

Department of Energy training materials used in operations and maintenance programs cite cases where cleaning restores roughly 6% to 7% of output in dirty conditions—helpful, but not guaranteed, and often not worth climbing onto a roof to chase a few dollars. The decision should be evidence-based: if your monitoring shows your system is tracking its typical seasonal curve, cleaning is usually optional.

If it's underperforming compared to the same month last year and weather hasn't been unusually cloudy, then it's time to investigate. Check monitoring data first, look for shade changes or debris, and rule out electrical issues before assuming dirt is the culprit.


Safety Before Any Hands-On Work

Even though rooftop PV is just a home system, the voltage and current available in daylight can be dangerous

Electrical and Roof Safety Considerations

Solar panel cleaning from safe ground position
Proper safety equipment and early morning cleaning reduce shock risk and thermal stress on panels

Simple Repeatable Annual Routine

If you want a simple, repeatable routine you can stick to year after year, this six-point checklist covers the highest-value items without turning your array into a hobby. Keeping the order consistent prevents you from cleaning first and diagnosing later.

  • Review monitoring at least monthly for unexpected dips or flatline days
  • Visually check for new shade sources like tree growth, vent pipes, or satellite dishes
  • After major storms look for debris, broken glass, or lifted flashing near mounts
  • Verify your inverter or gateway shows normal status lights and no active fault codes
  • If birds nest under panels address it early with professional-grade critter guards
  • Keep a maintenance log with dates, photos, and any error messages you've seen

That log sounds fussy until you need it. When a warranty claim happens, the fastest path is being able to show what changed and when. Photos after hail, screenshots of monitoring graphs, and a dated note that a fault first appeared can save weeks of back-and-forth.

Maintenance Visit Step-by-Step

Here's the step-by-step sequence I recommend for a maintenance visit, whether you do it yourself from a safe position or you're supervising a contractor

  1. Review Performance Data

    Compare this week to the same week last year, and also compare adjacent sunny days—big variability on similar-weather days is a red flag.

  2. Ground-Level Visual Scan

    Look for cracked glass, browned backsheet areas, dangling wires, rodent damage, or obvious shade that wasn't there before.

  3. Investigate Balance-of-System Signals

    Check inverter or app alerts, confirm breakers haven't tripped, and document any fault codes before anyone resets equipment.

  4. Clean Only If Needed

    If you're cleaning, do it during cool conditions, use gentle tools, rinse well, and re-check monitoring in the next day or two to confirm the issue improved.

Gentle Cleaning Methods That Work

For homeowners who can safely reach panels from the ground or a stable single-story edge when roof conditions are safe

Safe Cleaning Approach and Technique

For homeowners who can safely reach panels from the ground or a stable single-story edge—and only when the roof conditions are safe—the cleaning method should be gentle and boring. Use plain water first. If you need extra help, use a small amount of mild dish soap in a bucket of water, then rinse thoroughly.

Avoid solvents, abrasive powders, and stiff bristles that can scratch glass or damage anti-reflective coatings. Skip metal scrapers entirely. And don't create thermal shock: if panels have been baking in full sun, spraying cold water can stress the glass and seals.

Clean early in the morning or later in the evening when modules are cooler, and keep water pressure modest—high-pressure spraying can force water into connectors or junction boxes, and some manufacturer guidelines cap nozzle pressure around 500 psi on certain products.

Some common mystery underproduction issues aren't solved by cleaning at all. A single failed microinverter can drag down one module. A string inverter issue can cut an entire array's output. A communication drop can make it look like the system isn't producing when it actually is.

Roof work—replacing shingles, painting, gutter installs—can accidentally shade or physically impact wiring. If production is down and you can't tie it to visible soiling, treat it like an electrical troubleshooting problem, not a cleaning problem, and investigate the inverter and wiring first.

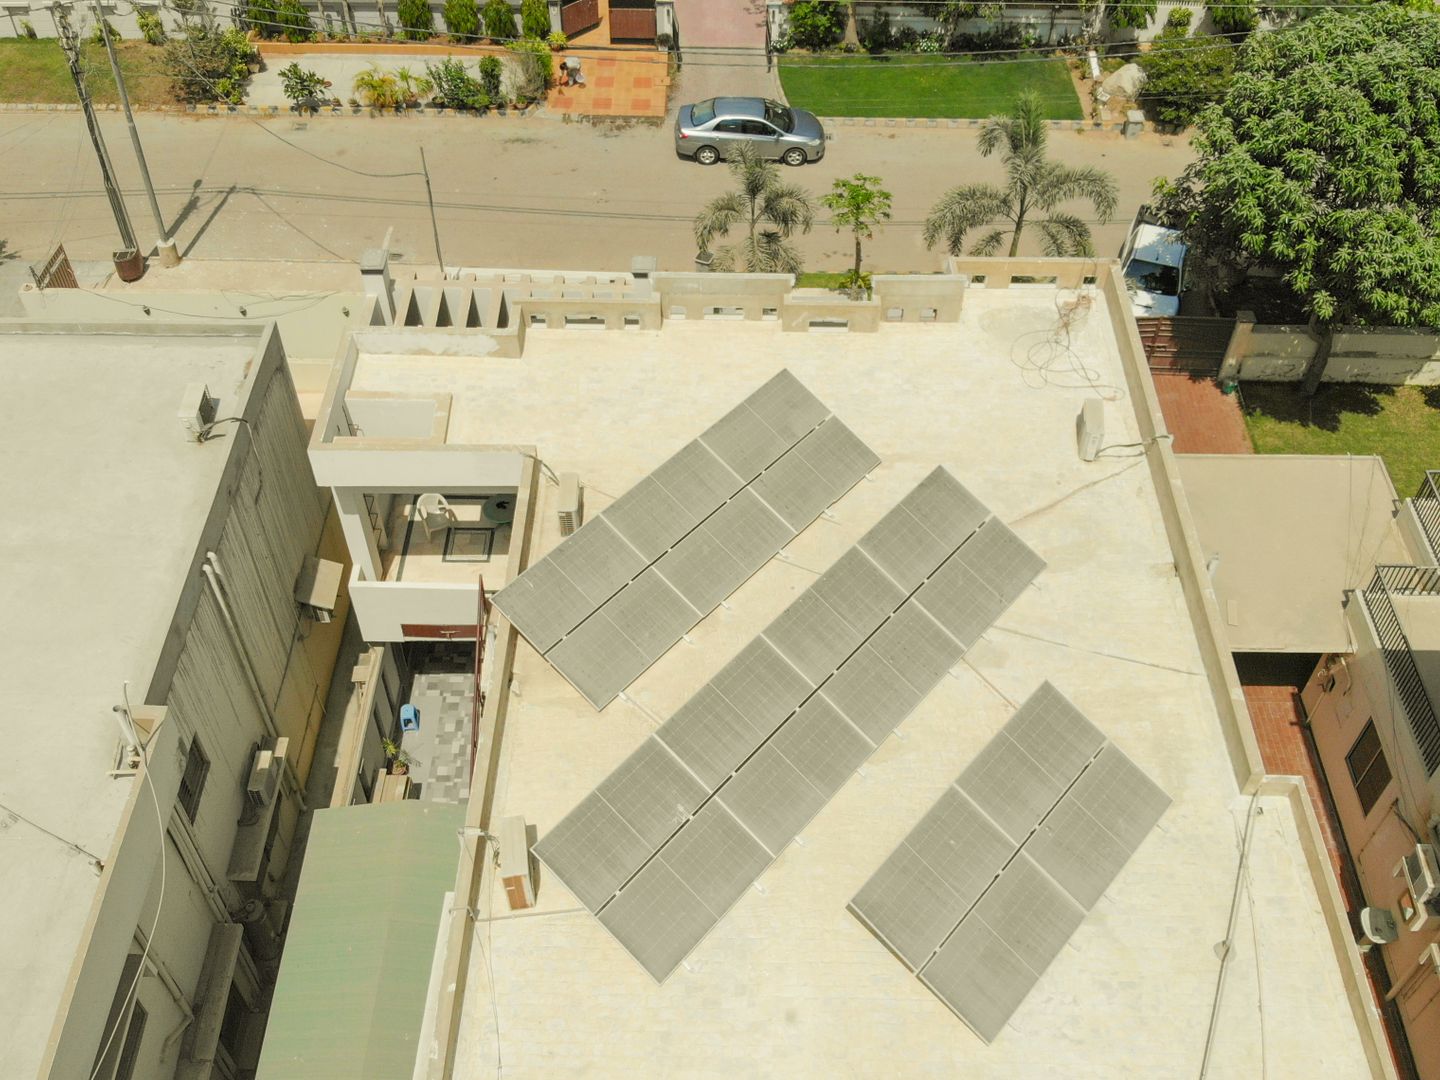
Aerial shot of solar panels on a rooftop in Karachi, highlighting sustainable energy solutions in urban settings.

Maintenance ties directly to your warranty leverage, which is where homeowners often lose money. Solar panel warranties typically come in layers, and understanding the layers is more important than memorizing any one term length. Most modern modules include a product warranty covering defects in materials and workmanship of the module itself, and a performance warranty guaranteeing the power output over time. On top of that, your inverter has its own warranty, and your installer may provide a workmanship warranty covering the installation labor, roof penetrations, and system integration.

Warranty Types and Coverage Terms

Understanding what broke versus what it produces helps you file the right claim with the right party

Warranty Comparison Overview

Type Covers Typical Term Common Exclusions
Panel product Module defects 10–25 years Improper handling
Panel performance Output guarantee 25 years Shade or soiling
Inverter Conversion hardware 10–25 years Labor to replace

Exclusions matter because system output is low doesn't always mean the module failed

Inverter Warranty Fine Print Matters

mm

David Thompson

Writer

David is a certified solar installer and home energy auditor who has overseen residential solar projects across multiple climate zones. His expertise lies in cost analysis, financing options, and navigating local permitting requirements for homeowners.